Food Photography Tip of the Week |18|
/Food Photography Tip of the Week |18|
How to diminish noise in your photo with Lightroom.
I’m sure at one point or another you’ve had to crank your ISO higher than you’d like when shooting in a low light condition. Maybe this has happens to you in the winter months when it seems like daylight is gone in the blink of an eye. It’s also completely possible that you accidentally set your ISO to a high setting without realizing it. Or, maybe you’re trying to capture a pour shot and to get your shutter speed fast enough with a properly exposed photo it’s necessary to crank your ISO.
Whatever the case may be you’ve ended up with an image that has more noise in it than you’d like.
Now what?
Well, there’s a nifty section in Lightroom where you can edit the level of noise to make it softer and less visible while still keeping the detail in your photo. It takes a little trial and error adjusting the settings but it’s really pretty dang simple!
*I’m currently using LR4 but I know the following settings are available in [at least] LR 3 + 5 as well and possibly earlier versions.
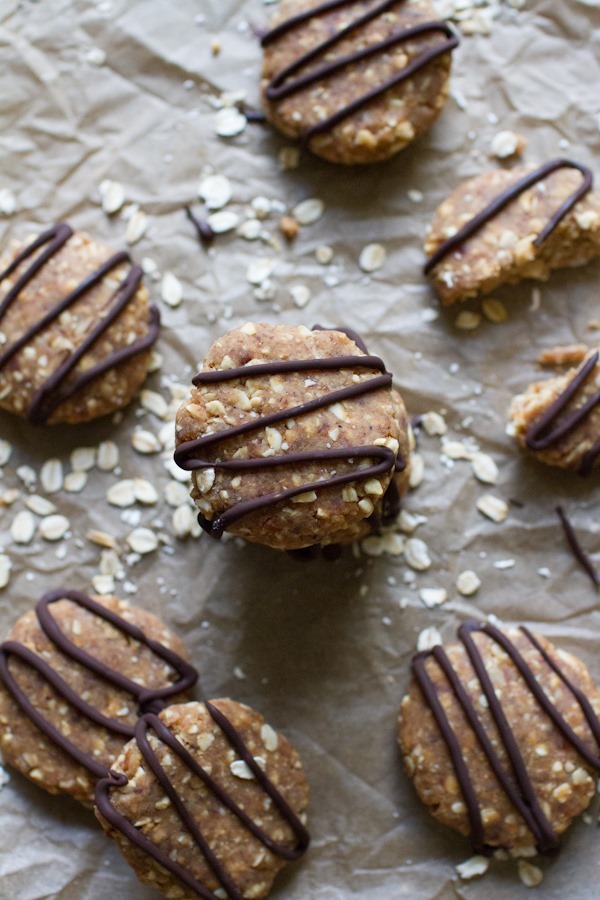
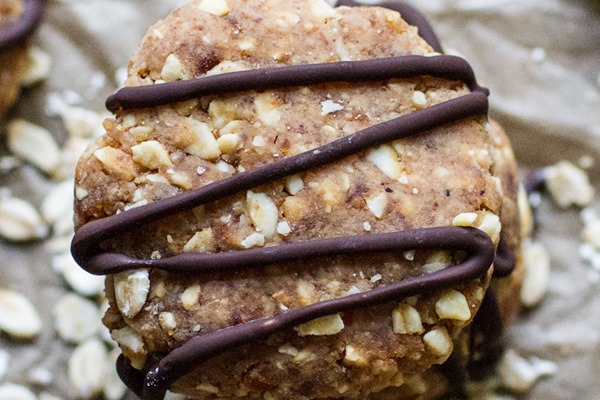
This is an image I took yesterday for a recipe I was making for my job with Craftsy. It’s completely unedited above and below. The photo below is simply a zoomed in version of exactly what you see above.
I purposely took this image with an ISO setting of 3200. Now, at the size you’re viewing on the blog the noise is not blatantly obvious, but you can still see it a bit. The graininess you see is noise from having the ISO set so high.
Above and below are the edited versions of the same photo. These are the typical edits I make to most photos, which you can read more about here. This does not include any edits to help diminish the noise.
The photo looks okay but there is a definite roughness to it due to the ISO setting being at 3200.
How to Diminish Noise in Lightroom
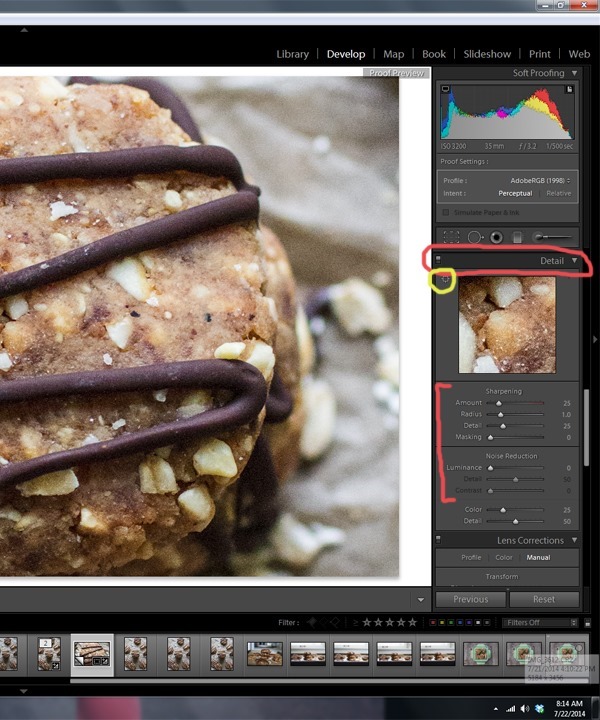
1 // Scroll down to the “Detail” while in edit mode.
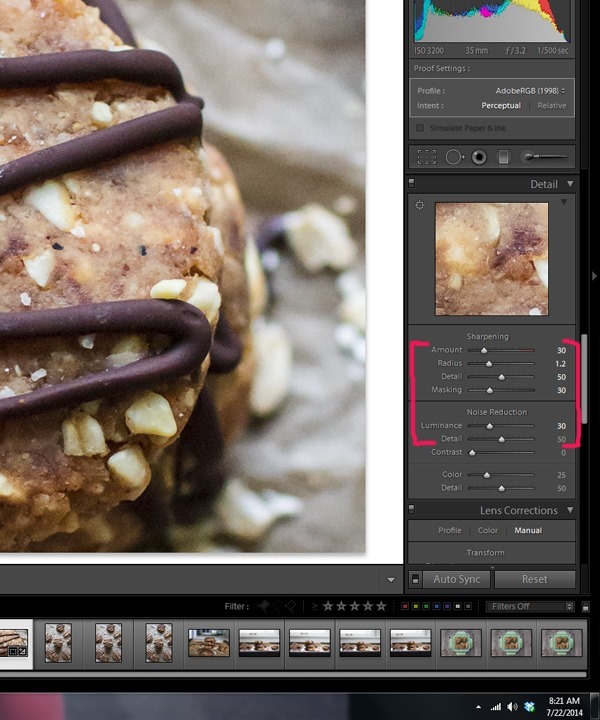
2 // Click the square I’ve circled in yellow and choose the point you focused on in the photo. This is what will show up in that little viewing screen you see in the right panel. Doing this gives you an ultra zoomed in look at what you’re editing, which will show exactly what you’re changing in the photo. You’ll be working with the tools under “sharpening” and “noise reduction.” You can really click any point in the photo where you want to see in great detail how your adjustments are affecting the look.
Here are what the sliders actually do:
Sharpening:
Amount: The amount of fine detail sharpening you’re applying to your image.
Radius: This adds a softer [smaller radius] or harsher [larger radius] feel to the pixels. The larger the radius the edgier the detail will look.
Detail: This brings out more of the texture in your photo and also helps to sharpen and show more detail.
Masking: The higher you set the masking the less of the photo will be sharpened. It chooses the most prominent edges to sharpen and then as you slide it to the right [increasing the number] it lessens the sharpening on less prominent edges of the photo. So, as you slide to the right the image appears smoother.
Noise Reduction:
Luminance: Adjusts the smoothness of the luminance in the photo. I typically keep this at 35 or below, or the image can start to look overly smooth.
Detail: Detail in the image you want to see. The higher you slide the more detail will be apparent, however, too high and it will start to look fake. I never use this setting and always leave it at “50” which is what it starts at.
Contrast: This gives more detail to the contrast in shadows. The higher you slide it the more contrast will appear in the shadows but this will also increase the noise. I typically leave this at 0.
*I never really use the last two sliders for “color” and “detail.” It may be more useful in people photos when skin colors get tricky to edit.
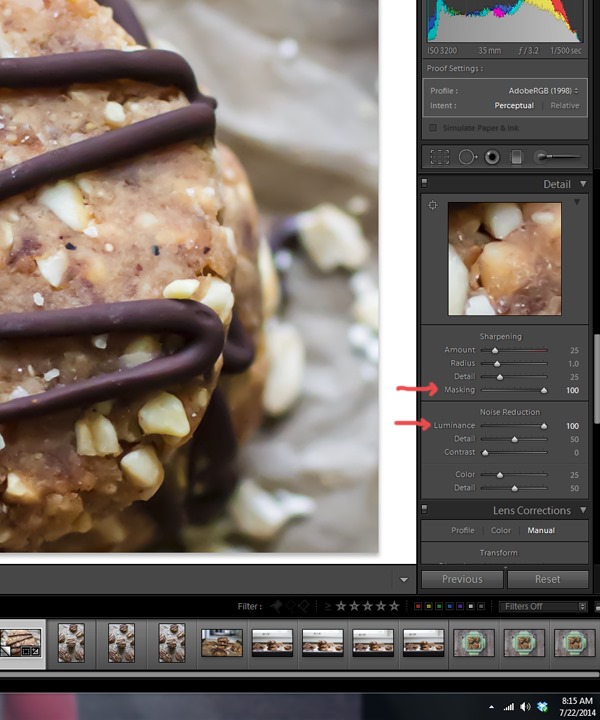
3 // To smooth the image and decrease the level of noise you’ll be using “masking” and “luminance.” If you were to increase those both to 100 this is what the result would be. The image looks way too smooth and more like Play-Doh than real food. So, let’s work on these adjustments gradually.
The photos above and below are with the masking + luminance at 100 which looks too smooth.
4 // Let’s start by sliding the amount and detail sliders under “Sharpening.” The higher you slide these the more detail you’ll see but it will also make the noise more pronounced. Start gradually.
5 // Next, you want to reduce the noise by smoothening the photo a bit with the radius, masking, and luminance. I rarely change the radius but adjusted it slightly to the right in this photo. I set the masking and luminance to 30 which is typically around the highest I’ll go. It helps diminish the noise just enough to give a smoother feel without feeling fake and still showing enough detail.
6 // Go back and make slight adjustments to amount and detail if you want more or less.
7 // Export your image and you’re all done!
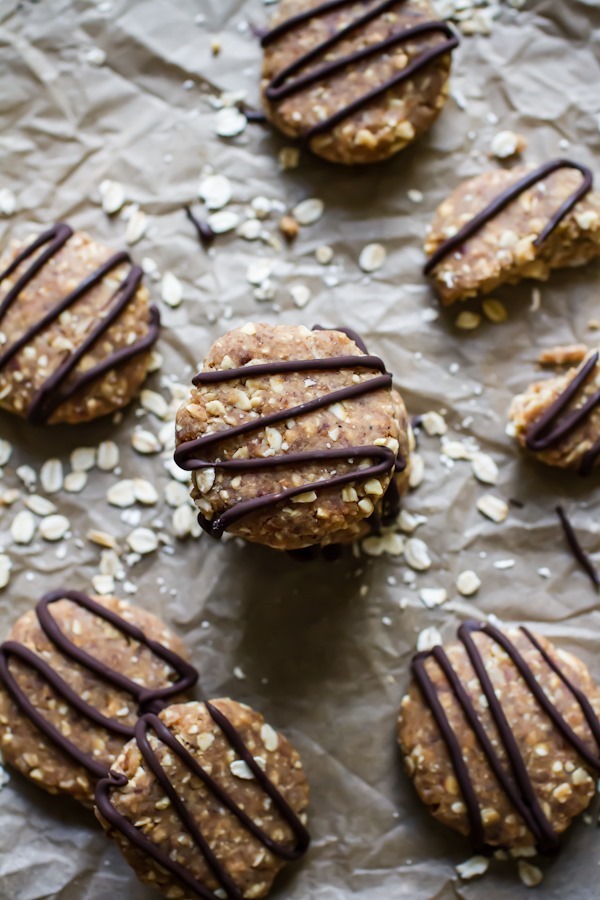
Here is the final edited image with the noise reduction tools as set above. Below is the zoomed in version.
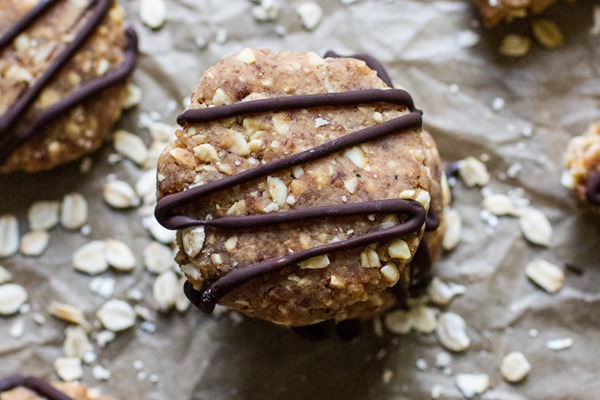
Below is the “before” image after adding only the standard editing.
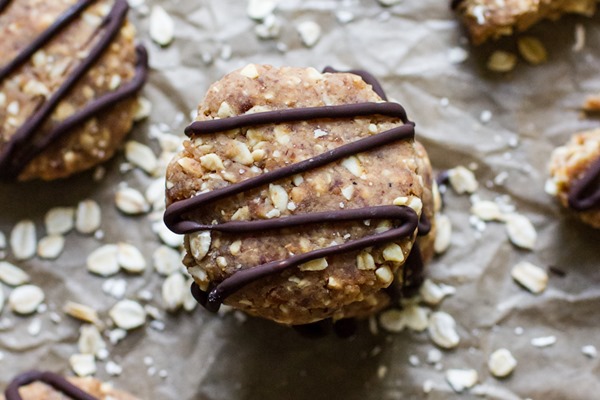
Below is the “after” image with the noise reduction edits added. Compare the corners and even the tops of the cookie. You can see the image below has a softer feel to it and the out of focus areas aren’t quite as noisy and harsh.
That’s a wrap! Now you know what to do to diminish noise in your photo using Lightroom!
I would love to hear any questions you have for future Food Photography Tip of the Week posts! They can be related to styling, props, editing, camera settings, etc.
Ashley
