pumpkin cake tiling bake
/Today was a bit more productive, as you will see below. Progress was made and exhaustion is setting in. An intense morning workout, plus biking 3m back + forth to the gym, plus mixing mortar, plus being on my feet from 3pm-10:30pm tiling = a very tired Ashley.
It’s been a little chilly the past few days, and we’ve actually had a decent amount of rain. It’s odd to actually see green grass! There is something so comforting about a hot breakfast on a cold morning and pumpkin extends that comfort further.
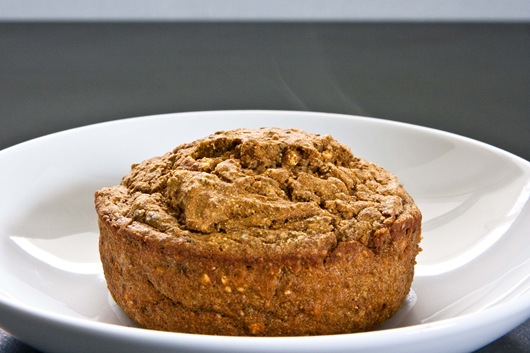
Steamin’
The first pumpkin bake I made was good, but this was better. Instead of putting both banana + pumpkin in the bake, I only used pumpkin this time.
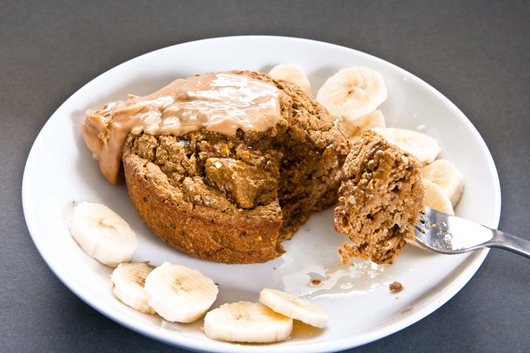
I couldn’t believe the texture. It was like no other breakfast bake!
It was thick + cakey + perfectly moist. Can you tell?? It was like pumpkin bread!
Pumpkin Buckwheat Cake Bake
- 1/4c raw buckwheat flour [ground in a blender from raw groats]
- 1T raw buckwheat groats
- 1/4c nut-milk
- 1 large egg
- 1/4c pumpkin puree
- 2t honey
- 1T chia seeds
- 1t vanilla
- 1/4t baking powder
- 3/4t cinnamon
- 1/4t ground ginger
- 1/8t all spice
- pinch ground cloves
- Preheat your oven to 350* [I use 375* because of the altitude difference in CO]
- Grease a 4-5” oven safe dish. [can also use 2-3 muffin tins – cook time will be shorter]
- In a separate bowl, whisk pumpkin, egg + milk together.
- Mix in buckwheat flour, groats, honey, spices, vanilla + chia seeds, until well combined.
- Stir in the baking powder.
- Pour into greased dish + even out.
- Bake for ~30-35min. Test with a toothpick to ensure it’s done.
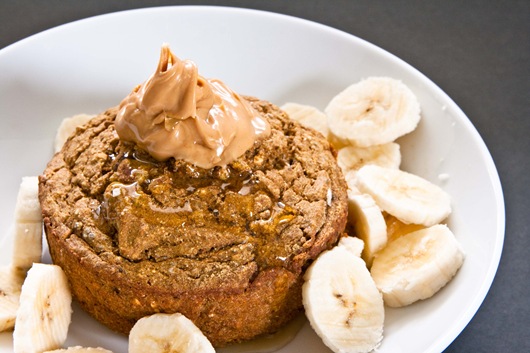
- Top with sliced banana + anything else you like.
*I have subbed a flax egg for a real egg and it does work, although the texture + taste are a bit different.
*You can also use oat flour instead of buckwheat flour, by grinding rolled, steel cut, or whole oat groats. Use 5T instead of 1/4 flour + 1T groats.
*This recipe is just barely sweet. If you like things sweeter, add more honey to the mix or add when it’s done baking.
*”Toasted buckwheat” or “kasha” is not the same as raw buckwheat groats. Raw groats are light tan/yellow/green in color and have a very mild flavor. Toasted, or kasha, has a very toasted/burnt flavor, that I do not recommend for this recipe.
I thought the strawberry banana buckwheat bake was my new favorite, but this may have surpassed it!
Round 2 with the tiles!! We bought a few new blades and were ready to give it another go.
I was already tired before starting and less than hopeful that it was going to work.
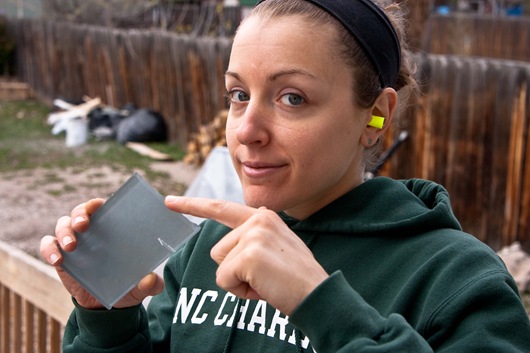
Safety first!
The saw is a bit intense. Like I said yesterday, it’s called a wet saw, and it actually has a tray of water sitting underneath it. The water spins with the blade for a cleaner cut. The water spits out at you, as do tiny pieces of glass. A bit sketchy!
What do we have here??? A smooth cut!!! And goggle lines on my face. Woop!
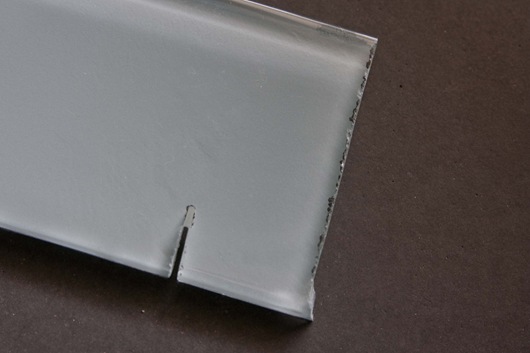
Okay, don’t pay attention to the little jagged piece at the end, but the rest of it was really smooth! Unfortunately, the blade chews off some of the tile backing, which is actually what holds the color. It looks like the tile is chipped along the edge, but it’s really just the backing that came off when I made the cut. We really only have to make cuts where the tile will be butt up against something, so I don’t think the little imperfections will be noticed. I figured out how to get rid of the chipped end too. Score!
Chris tried putting painters tape around the tile, to see if that would help hold the color backing on. We’ve seen that technique used for a few other things and thought it might work for this, but it didn’t.
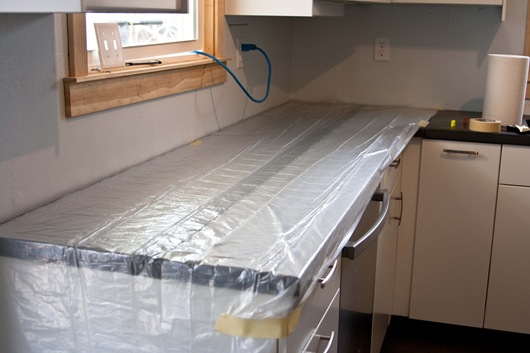
I covered the counter with plastic and then got to mixing the mortar.
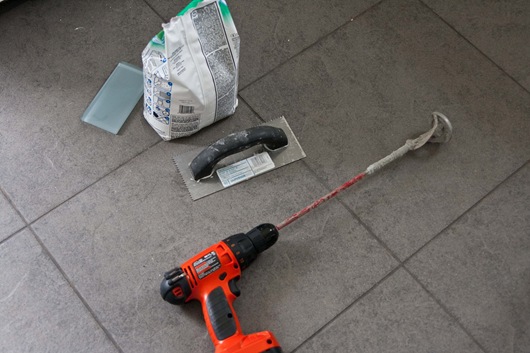
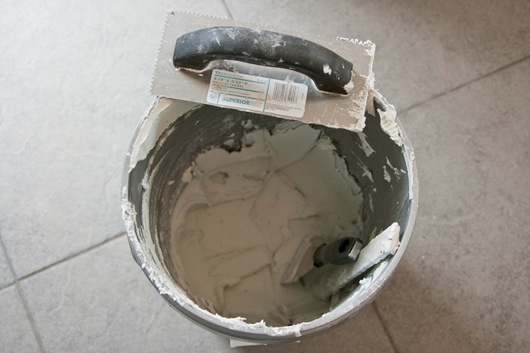
Mixing mortar is hard work!! It’s like using a handheld mixer with reallllly thick dough. I had to mix for 5min, then wait 10min, then mix another 2. I was regretting my arm workout earlier in the day…
While the 10 minutes ticked away, I decided to take a few photos of new fixtures that Chris installed.
Kitchen light!! We also have a matching track light mounted above the stove.
I am in love with our new fans!! We ordered 2 fans from an online website, and didn’t really like the quality at all. Unfortunately, we didn’t read the return policy too well, and ended up being stuck with one of them. We decided to move that fan to the third bedroom, and buy 2 matching fans [from Lowes] for the living + dining room.
The quality of these fans are so much better, and they only cost about $20 more. The first fan also had horrible directions + was really hard to put together. These were much easier! Buying online to save $20 is not always worth it. Read those return policies!!
love.love.love.
The mortar was ready, so I got to tiling.
The process started off slow, but I got the hang of it more + more.
I’m on my own with the tiling, as Chris is quite behind in his grad class, from all that we’ve had going on lately. I don’t mind tackling this project though. It will be so rewarding to know I did it all by myself!
I got 2 full rows done and then started on the 3rd, which was a bit trickier. As you can see I had to cut really thin pieces to fit under the window trim. It was about 10pm when I called it quits. I think tomorrow will move quicker, but this is definitely going to be a multiple day project.
They aren’t kidding with the name “wet saw!” Totally soaked!
And now it’s time to face plant into bed, but maybe gnaw on my chocolate bunny first. :)
Ashley


