The Best Marinated Lentils from "Oh She Glows Every Day"
/
The big day finally came about two weeks ago. I had been anticipating this day for well over a year, and somehow it was finally here. A project I worked on for 4 solid months, nearly 7 days/week, for one of the most creative, inspiring, thoughtful, meticulous, talented women I know.
You've probably guessed it by now, but yes, this was the day Angela Liddon's second cookbook was released, filled with well over 100 of my photos inside. The cookbook is called, Oh She Glows Every Day, and it's an absolute stellar followup to Angela's first.
I thought for today, I would talk about the process of photographing Angela's cook, tell you a bit about the recipes inside, and then share one of my favorite recipes with you. This may get lengthy...
Also, be sure and hit up Instagram for a cookbook giveaway starting later today (9/21)!
Photographing a cookbook:
It's hard to know where to start on this topic. First, to have the opportunity to photograph a cookbook for someone, let alone an established and highly regarded cookbook author, was an absolute DREAM. I truly never imagined getting to this point, but it was a goal/dream/hope I had for myself many years ago. There's a lot of trust that goes into a project like this. The author has spent countless hours, days, months, and possibly years coming up with the content for their cookbook and then hires you to capture the vision they have of their recipes. In PRINT. Hello, pressure!
Angela and I emailed and texted probably hundreds of times throughout the process. We started with trying to nail down the style. Angela wanted to stray somewhat drastically from her first cookbook (style-wise), which made me both nervous and excited. Would her followers love it just the same? I trusted Angela's instinct to try something new and dove right in. The style was clean, bright, and fresh. It was truly meant to capture the beauty of the food and ingredients and to make the recipes feel approachable. This style was something I have always felt drawn to, as you've probably noticed if you've been following the blog for awhile now.
Despite the photos looking quite simple, they were still challenging to style. The recipes really needed to POP and look their best. I had to make sure every single recipe was not only made accurately, but also made in a timely manner so it didn't lose its life as I was photographing. And yes, I made every single recipe in this cookbook at least once! Also, with over 100 recipes and each one needing a photo, I couldn't take any "passes" on recipes that might not be the most photogenic. I had to get creative with things like marinated tofu, lentil-walnut taco "meat," shepherd's pie, etc. It really pushed me as a photographer, and I'm so grateful for the entire experience.
During the process there were definitely days and weeks where I felt strong and super productive and other times when everything felt off. I'm learning it's part of the creative process, but it can surely be frustrating when you're going through it. You feel like you should just be able to keep moving on with the work, but sometimes your mind gets the best of you and you need to take a step back. The tough part is when you feel like you're getting nothing done, and you're stressing that you're getting nothing done, then your creativity plummets even further. I'm still learning how to be kind and gentle to myself in these times and allow myself a true mental release/break. But I'm always fighting against the voice inside me saying, "If you worked in an office, you wouldn't get these breaks!" So although this job is everything and more than I ever dreamed, it still comes with its frustrating--questioning everything you do, types of days as well.
Luckily, I had Angela's energy and kindness pushing me the whole way. It was my first time really collaborating with someone on a project (especially of this size), and I truly enjoyed it.
And in the end, it comes with such immense reward. Like with the release of this cookbook!!!!!!!!!
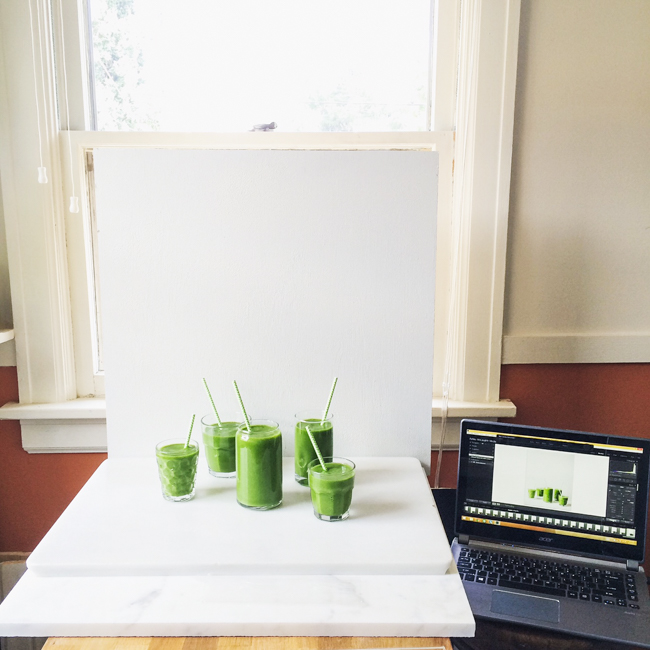
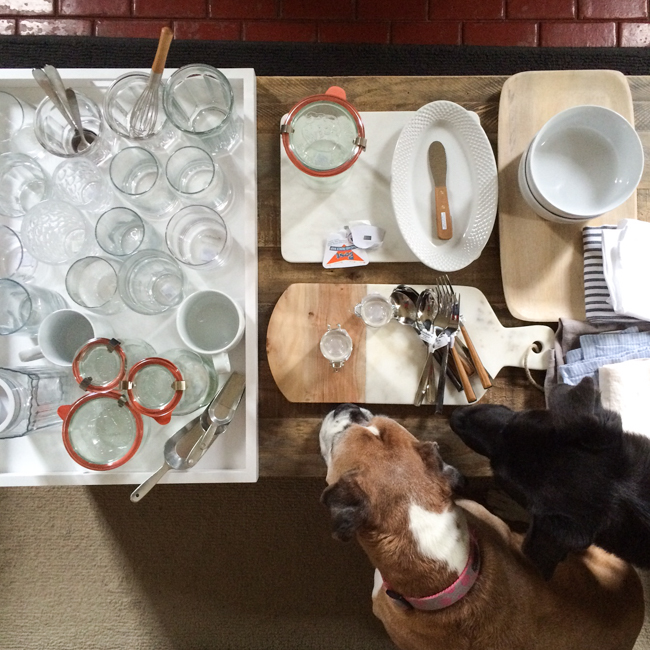
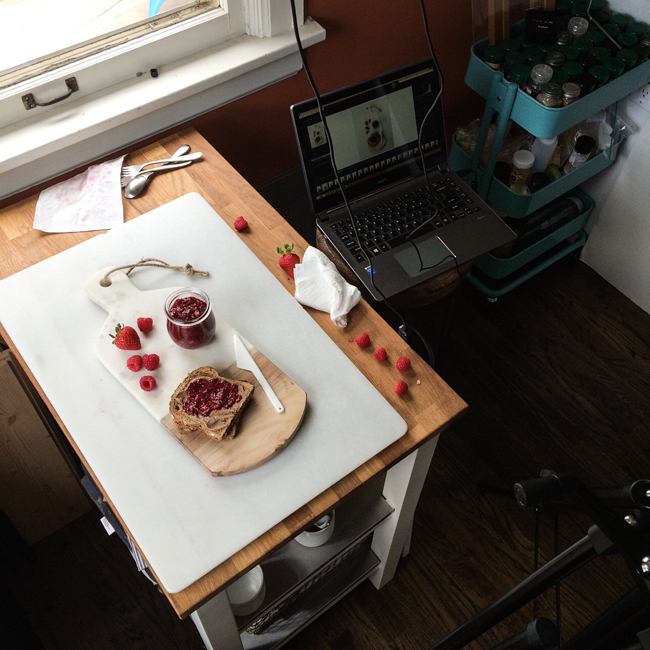
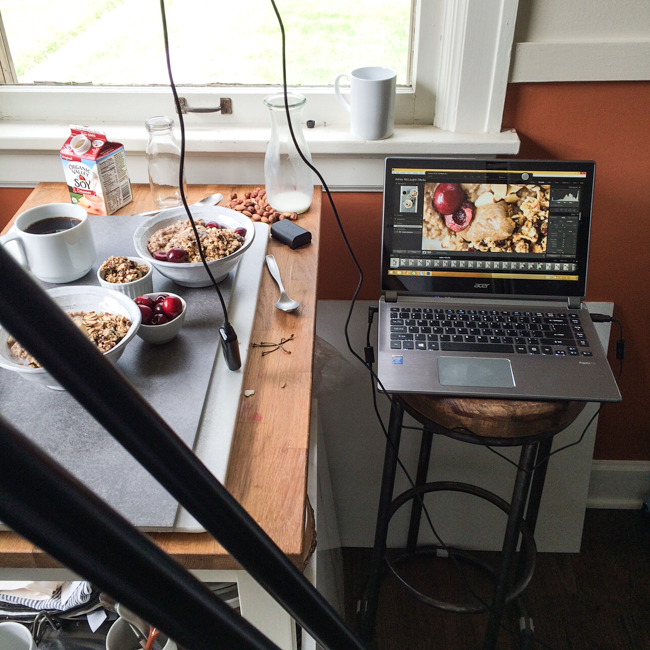
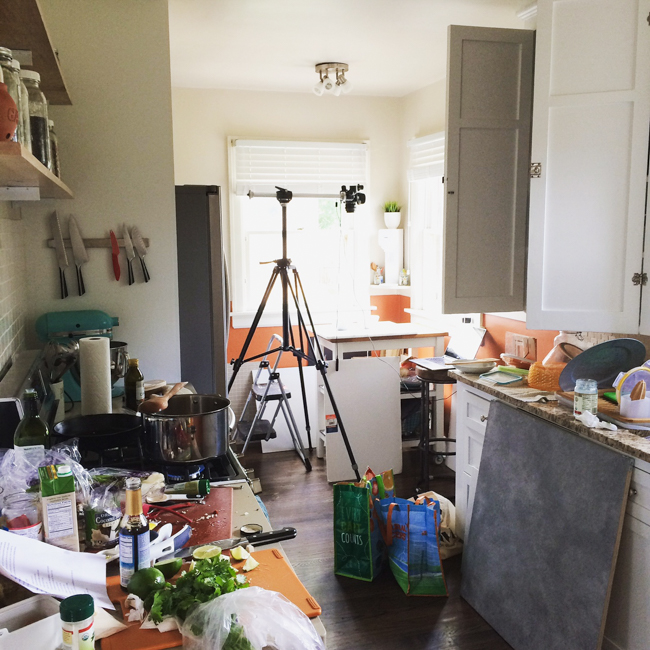
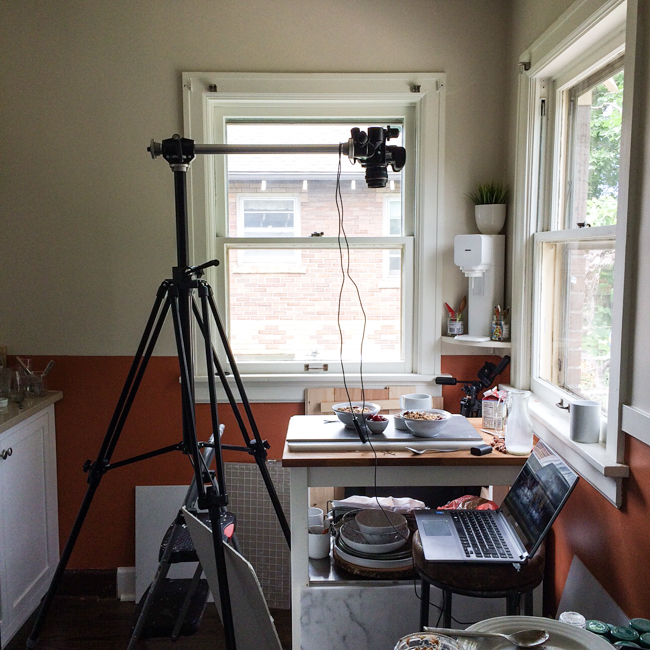
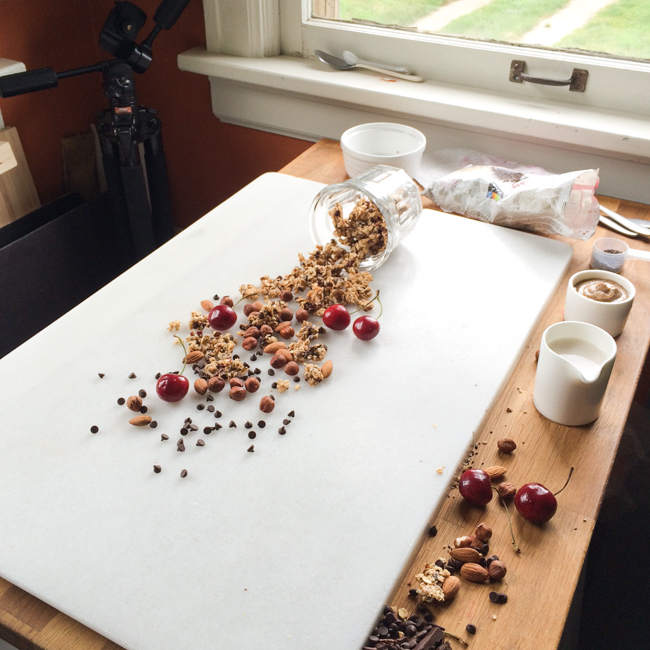
Here are some behind the scenes images I captured on my iPhone during the process (in our previous house!).

Oh She Glows Every Day Recipes:
Since you just read that I made every single recipe, that also means I ate every single recipe, and I honestly can't say enough good things about them. I remember my eyes lighting up and immediately texting Angela SO many times throughout the process. She truly wowed me with her inventive, flavorful, and manageable recipes. Here's a little detail into each chapter and some of my favorites (seriously hard to choose) from them.
Smoothies and Smoothie Bowls: I will admit I rarely make other peoples' smoothies recipes and generally pass over them in cookbooks. Angela's smoothies have made me totally second guess my judgement in doing that. I was continually amazed by the flavors she created with these smoothies and remember having them stocked in our fridge, drinking them down for days after. My favs:
- salted chocolate hemp for two
- green team lime pie
- green-orange creamsicle smoothie
- pear vanilla mint green smoothie
Breakfast: The mix of savory and sweet recipes in this chapter totally speaks to me. I love the savory recipes for the weekend and more oat-type recipes for weekday. The hazelnut milk was such a star, and I'm not even a fan of hazelnuts normally. The vanilla super-seed granola was to-die-for. I kept a bag of that stocked in my fridge for months on end. Her steel-cut oat recipe was also made countless times, and I also made it numerous times for new-mom friends to keep stocked in their fridge. My favs:
- vanilla super-seed granola with coconut chips
- coffee shop-worthy hazelnut milk
- the fastest sprouted steel-cut oatmeal
- strawberry oat crumble bars (all out obsession with these)
- roasted breakfast hash
Snacks: Ohhh, the snack chapter. Angela packed this chapter with so much goodness. Some of the recipes even double as breakfast recipes, while others are great to keep on hand for healthy snacking throughout the week. Nothing is overly complicated, but everything is packed with flavor. My favs:
- roasted hazelnut-almond granola clusters
- banana bread muffin tops (breakfast!)
- endurance crackers (SO amazing with avocado + flaked salt as photographed in the book)
- cookie dough balls
- roasted garlic and sun-dried tomato hummus
Salads: What I love most about this chapter, is that all of these recipes can be turned into full-on entrees. It's like an extension of the entree chapter, along with all of her soups! The recipes are nutrient dense and packed full of different textures and flavors. Each recipe really highlights a group of different ingredients, and I love that. One of my favorite chapters for sure! My favs:
- protein power rainbow quinoa salad
- spiralized zucchini summer salad (with marinated tofu)
- hemp heart sorghum tabbouleh (I love sorghum!)
- crowd-pleasing Caesar salad
Sides and Soups: Like the salads, these soups are chock-full of nutrition and totally dinner-worthy. They're going to be on regular rotation whenever it finally start to cool down around here. And the sides have turned into some of my favorite recipes of all time. My favs:
- roasted garlic basil pesto potatoes with arugula (have made at least 1 dozen times)
- the best marinated lentils
- marinated Italian tofu
- cast-iron tofu (crispy tofu!!)
- metabolism-revving spicy cabbage soup
- golden French lentil stew
Entrees: I'm about to sound like a broken record with going on and on about my love for her recipes, so here are my favs:
- oh em gee veggie burgers
- shepherd's pie
- chili cheese nachos
- eggplant parmesan
- sweet potato, chickpea, and spinach coconut curry
- marinated portobello mushroom bowl
Cookies and Bars and Desserts: I'm combining these two chapters, both of which I'm fully obsessed with. If you know Angela at all, you know she tests her recipes (specifically baking) to death. So not only can you count on them turning out, but also tasting fabulous and curing all of your sweets cravings.
- the ultimate flourless brownie
- triple almond thumbprint cookies
- flourless peanut butter cookies (I make these using just 1 bowl, starting with wet ingreds.)
- secret ingredient chocolate pudding
- meyer lemon cheesecake with strawberry-vanilla compote (kept small pieces wrapped in our freezer for months!)
- mile-high black-and-white freezer fudge
Homemade Staples: You've never seen so many staples in a cookbook before! From how to press tofu, to a shake-and-go balsamic vinaigrette, to the best vegan parmesan, and an absolutely killer "cheese" sauce. This chapter is not to be missed! My favs:
- all-purpose cheese sauce (carrot + potato based!)
- 9-spice mix (insane on avo toast)
- roasted tamari almonds (snacked on these non-stop)
- lemon-tahini dressing
- maple cinnamon coconut chips (addicting!!)
- shake-and-go balsamic vinaigrette (beyond easy, super tasty)


Don't forget to check out the pantry section in the Homemade Staples chapter, too! This may have been my favorite chapter to photograph, and it's loaded with easy to digest (pun intended) ingredient and cooking information.

And now for that recipe...
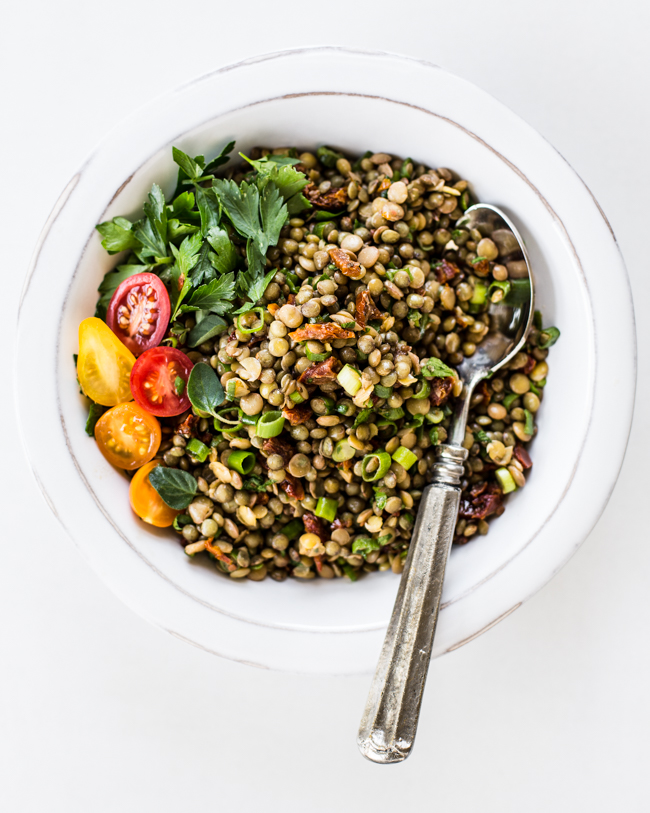
This may seem like an unassuming recipe, but it's one you definitely shouldn't miss out on making. You never knew your love for lentils could grow this much. Seriously, these lentils are addicting. I found myself having to hold back from extra spoonfuls because one person should only eat so many lentils in a day. This is a fantastic staple to keep on hand for weeknights when you need to throw together a meal quickly (pair with rice or quinoa, sweet potatoes, avocado, etc.), and also when you're hungry and need a quick kick of protein. Having these lentils on hand might keep you (ahem, me) from digging into that bag of tortilla chips.
From Oh She Glows Every Day. Copyright © 2016, Glo Bakery Corporation. Reprinted by permission of Penguin Canada, a division of Penguin Random House Canada Limited.
The Best Marinated Lentils
gluten-free, vegan | yields 4 cups
- 1 cup uncooked French green lentils
- 1/2 cup uncooked green or brown lentils
- 2 tablespoons extra-virgin olive oil
- 2 tablespoons plus 1 1/2 teaspoons red wine vinegar, or to taste
- 1 tablespoon fresh lemon juice
- 1 1/2 teaspoons Dijon mustard
- 1 1/2 teaspoons pure maple syrup
- 1 teaspoon fine sea salt, or to taste
- 1/4 teaspoon freshly ground black pepper
- 1 to 1 1/2 cups thinly sliced green onions (about 1 medium bunch), dark and light green parts only
- 1/3 cup fresh parsley leaves, minced
- 1/2 cup oil-packed sun-dried tomatoes, drained and finely chopped
Pick over the lentils, discarding any debris. Rinse and drain the lentils and put them in a medium saucepan along with 4 cups (1L) of water. Bring to a boil over medium to high heat, then reduce heat to medium. Simmer, uncovered, for 20 to 25 minutes, until tender.
In a large bowl, whisk together the oil, vinegar, lemon juice, mustard, maple syrup, salt, and pepper. Stir in the green onions, parsley, and tomatoes.
Drain the lentil very well. Spoon them into the bowl with the other ingredients (it's okay if they are still warm) and stir well. Season with additional salt and pepper.
Serve immediately, or let cool slightly and then cover and marinate in the fridge for a couple of hours or overnight. Stir well before serving. This dish will keep in an airtight container in the fridge for up to 1 week, or you can freeze it in a freezer-safe-zip-top bag with the air pressed out for up to 1 month. After thawing, I recommend adding extra dressing and salt to liven it up again.

That black and white freezer fudge I mentioned in my favorites list? Yep, that's it right there. I know you want a slice.
Thank you all so much for reading (or skimming) this insanely long post. This was such a huge project in my career, and I really wanted to share a lot of the details with you. Also, thank you for continuing to support me and this blog, even though it's been pretty quiet lately. To show my appreciation, I'm going to host a cookbook giveaway on Instagram starting later today. I'll also be creating IG stories making Angela's lentil recipe above. Be sure and check it all out!
xo
Ashley