Recipes for Mom {beans!}
/Something fishy is going on around here. Or maybe I should say, something veggie is going on around here. Hmm, doesn’t really have the same ring to it.
And I guess it’s not really “around here,” more like “around there.” As in, over at my parents house in OH-IO. If you’ve been following along with my Recipes for Mom posts, you know my intentions were to help my mom learn some veggie-loving basics. Both she + my dad are excellent in the kitchen, but they aren’t as familiar with centering the meal around veggie protein. Daughter to the rescue!!
They have been outstanding parents, so helping them in the kitchen from 1,400 miles away is the least I can do!
For the past few months, there has been a lot less meat-eating at their house and recently my mom even decided to do “meatless Mondays.”
When you first start eating less meat, or cutting your meat consumption altogether, it’s quite a change. It takes a little getting used to, but soon feels like second nature.
Beans are a major staple in my diet. I love them. I could eat them everyday. Especially chickpeas. Man do I love my chickpeas. I actually used to hate them. I avoided them like the plague in the salad bar lineup. Now, I pile them on. I eat them by the handful. I snack on them like they are candy.
Point? Stock up on canned beans? Nope – too expensive. I’ve spent enough money on canned beans.
I’m done!
Time to commit to cooking beans myself. I know a lot of you already do this, so feel free to hit the snooze button and come back tomorrow. But for those of you who don’t, listen up!
I buy organic canned beans. They cost about $1.39/15oz-can at Whole Foods. At Natural Grocers, I can buy 2lb of organic chickpeas for about $3.
So, 2lbs of raw and 2 cans of cooked are about the same cost.
Now check this out…
2lbs = ~15-17c cooked beans
[2] 15oz can = 3c cooked beans
Undeniable savings. Oh my word.
I even have the solution to help with the *ahem* gassiness, you may experience.
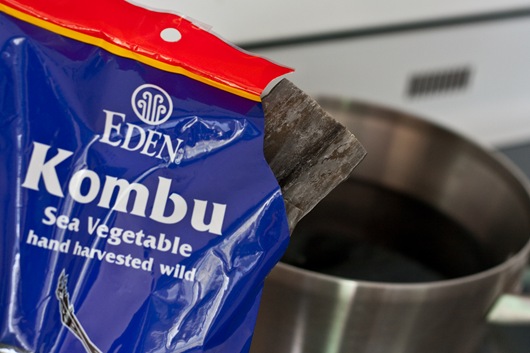
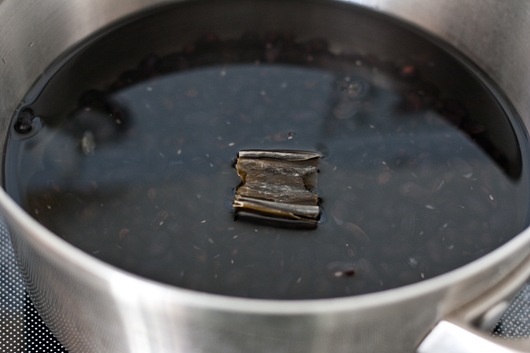
Ever heard of kombu?
It’s a dried sea vegetable, that you can find in the Asian aisle of your grocery store. A bag will cost you about $6, but it will last you for a LOT of bean cooking.
So what does kombu do?
When cooked with beans it…
- adds flavor
- adds nutrients
- reduces gas
- eases digestion
It’s not necessary, but I never cook beans without it!
I also like to add a little salt + oil to the pot, to keep things tender + flavorful.
Oh, and I use a slow cooker. It’s not just for meat, people!
Slow cookers are a great kitchen tool and they are pretty affordable. You don’t need anything fancy!
Cooking your own beans, couldn’t be easier and they’re much fresher tasting than from a can. It’s much easier in a slow cooker, than in a large pot on the stove. You can leave these to cook while you’re at work and there is no boil-over mess or stirring to deal with.
Slow Cooker Beans
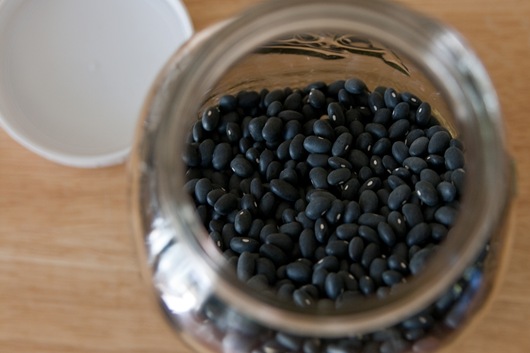
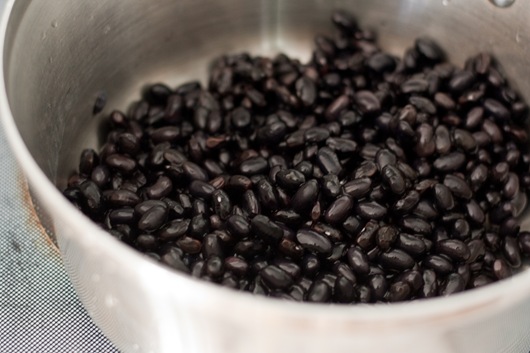
- 1c dried beans [ = appx. 3c cooked beans = 2, 15oz cans]
- water
- 1/2t salt
- 1/2T oil [opt]
- 2” strip of kombu [opt]
- Pick over dried beans, making sure there is no debri.
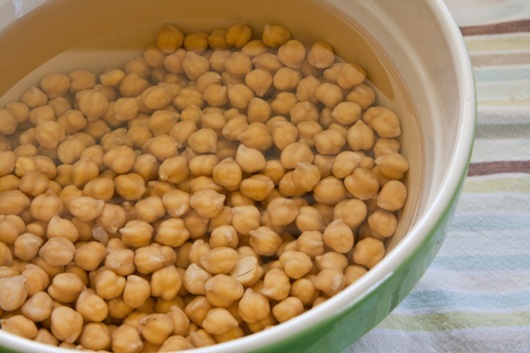
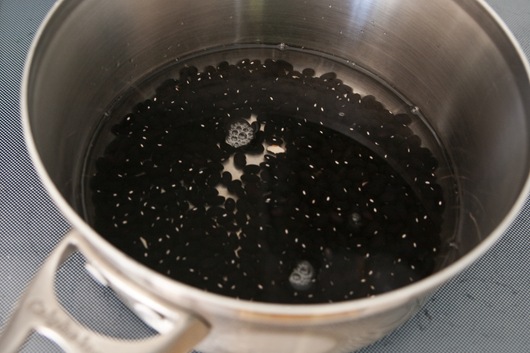
- Rinse them well and place in a large bowl covered with water, by a few inches.
- Let soak in the fridge overnight.
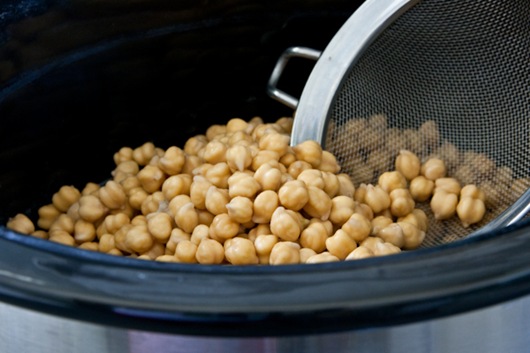
- In the morning, rinse the beans thoroughly and place in your slow cooker.
- Cover with water by 2-3”
- Add salt + oil, and give a quick stir.
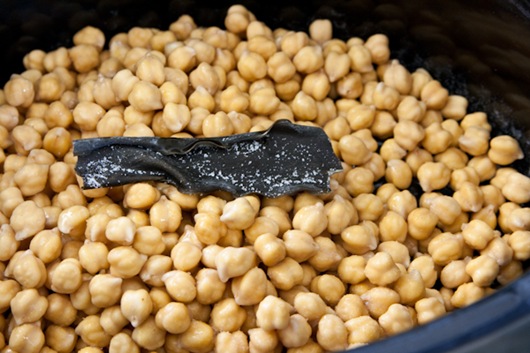
- Add the strip of kombu, cover + set to low for 5-7hrs.
- Remove + discard kombu. [You mix it into the beans, but I like to remove it.]
- Drain water + rinse again thoroughly.
The soaking + rinsing is very important!
If you’re looking for “out-of-the-can” texture, aim for a cook time of 6hrs. If you are adding them to chili or stew and they’re going to be cooking longer, take them out at the 5hr mark. If you want to speed up the process, turn beans to high for 1 hour, then set back to low for 3hrs.
Now from here, you can store in the fridge for 3-5 days. If they become slimy or smell, I would toss them. They’ve never lasted more than 3 days around here, but not because of spoilage. I just went through 6c in 2 days. No lie.
What to do with all the beans!
- use right away in a recipe
- refrigerate
- freeze
I’ve tried freezing beans before and the outcome is okay. All you do is let the beans dry a bit on a towel, add them to a freezer-safe bag, squeeze the air out, then seal + freeze. Stick the bag in the fridge the night before you want to use them and freeze typical quantities in the bags. ie: 1.5c = 1 can beans
The texture once thawed is decent, but I don’t like to eat them plain [salad, by the handful, etc]. They’re good when mixed into recipes, but they just lose a bit of their bite. Maybe letting them dry longer on a towel would help?
One way to use them right away? Roasting! Nothing new. First learned this trick from Mama Pea and now I’m hooked.
The other night for dinner, I was craving something grilled + with BBQ flavor.
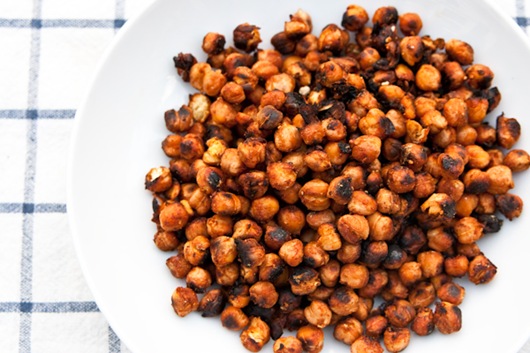
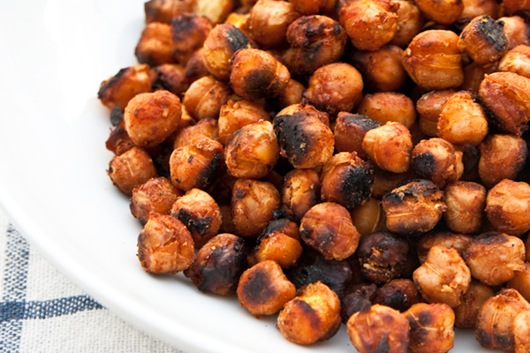
Enter BBQ roasted chickpeas.
These couldn’t have been easier.
And the outcome? Oh my.
Crunchy, chewy bites of BBQ goodness!
BBQ Grilled Chickpeas
- 3c cooked chickpeas
- 1/3c BBQ sauce
- 1 large garlic clove
- 1/2T sunflower oil [or other high heat oil]
- black pepper
- 1/8t salt
- Preheat your grill to med-high, ~375-400. [or your oven to 400*]
- Toss all ingredients together in a bowl.
- On a pan [line with parchment if you don’t want a mess to clean!] spread chickpeas in a single layer.
- Grill for 30-40min, until blackened + crunchy, tossing 3-4 times.
- Remove from heat + serve.
Prepare to crush your BBQ chicken craving. Feelin’ a little saucier? Swap the BBQ sauce for buffalo sauce!
Did I lose you in all the text? [Sometimes, I’m so chatty. What can I say? I’m just excited!]
If so…go back and re-read if you want to learn…
- how to save money
- how to cook beans
- what to do with cooked beans
My canned bean buying days are O-V-E-R!
And now I go to B-E-D.
A-S-H-L-E-Y
Catching up?

