photography 101: ISO-mania
/Have you mastered the terms to know from our last session?? If not, get your butt back there + read them again…and again. :)
Today I’m going to talk about ISO. I’ve heard from a lot of people that they leave their camera on Auto-ISO. From the start I’ve never done this. As a beginner, leaving your camera on auto-settings just prevents you from learning how to use it. When your photos turn out dark, noisy, etc. you’ll have to figure out how to adjust them to improve quality. When using your camera on auto-settings, you’ll never really learn how these functions work.
Please remember, I am not a pro or even close. I’m just offering up information on what I have learned!
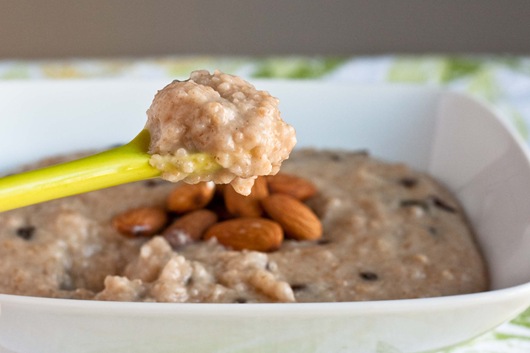
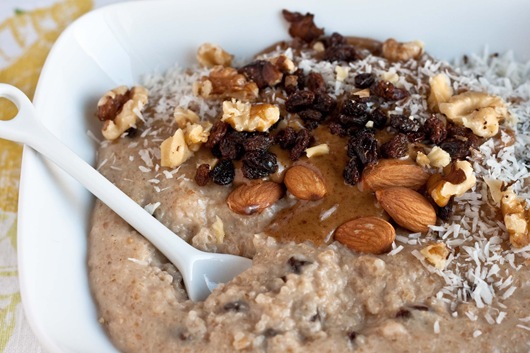
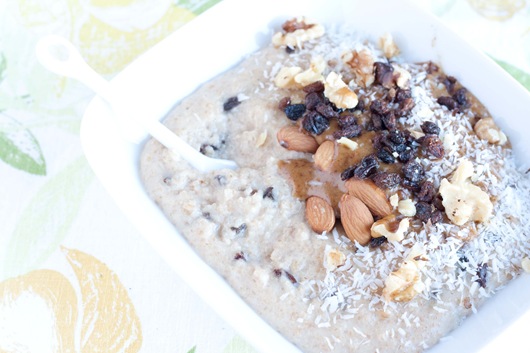
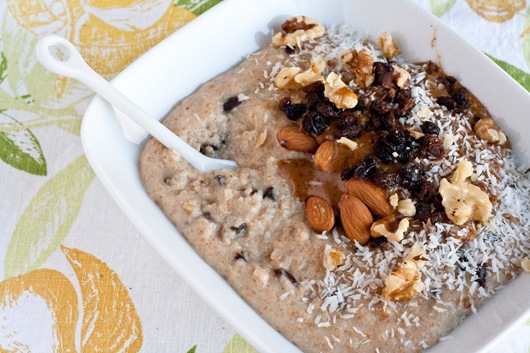
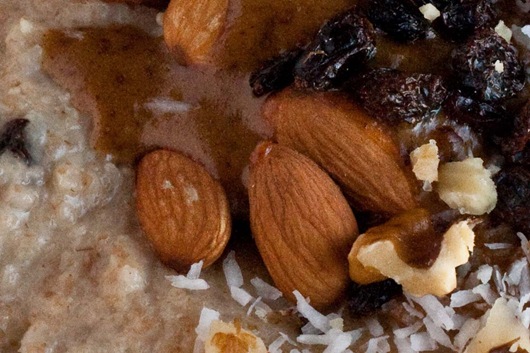
Below is a delicious bowl of ground farro that I ate a few weeks ago.
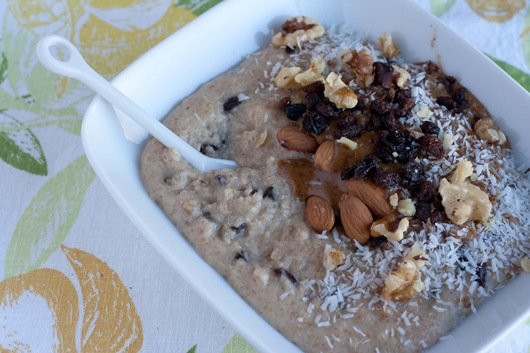
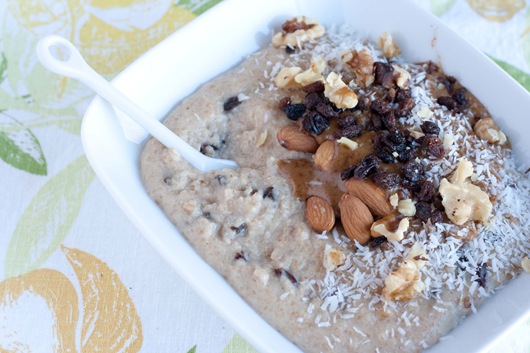
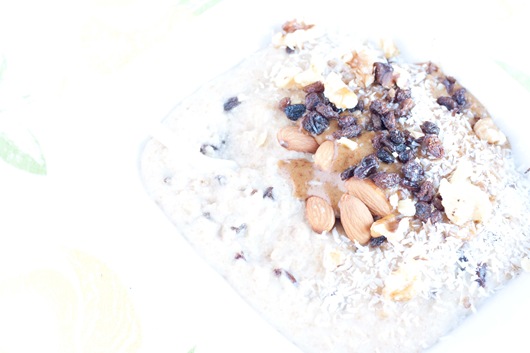
You’ve seen these first two photos before but not the rest. I took a set of photos, of this bowl, to explain exactly what ISO is all about.
So…what exactly is ISO?
ISO is your camera’s sensitivity to light, or how the camera processes light.
Low ISO = 100 [less light sensitive – let’s in less light]
High ISO = 1600 [more light sensitive – let’s in more light]
When using a low ISO, your lighting conditions will be nice and bright. This would be a sunny day outside or if you have a window where light pours into your house.
Using a high ISO, means the lighting conditions are dark or poorly lit. As it gets darker out earlier, I have to crank up my ISO to make up for the lower light. You will tend to use a higher ISO in the evening, or in a poorly lit restaurant, etc.
So what’s the problem of using a higher ISO to let more light in? Well, a little thing called noise. Noise is a grainy film on the photo that results from setting the ISO too high. The higher you set the ISO the noisier the photo. You always want to be shooting in the lowest ISO possible, to get the clearest image. Also, just because your camera’s ISO goes up to 1600 or maybe 3200 or higher, doesn’t mean your camera is able to produce a quality image at that number. On my camera, switching to ISO 1600 is extremely noisy. I have used this setting only a handful of times, but never need to now that I have set up my lightbox for night shots. I will use my camera on 800, but try to keep it at or lower than 400, as much as possible.
Also, the ISO you choose, affects the combination you will set your shutter speed + aperture [f-stop] at to get the correct exposure. I will be covering shutter speed + aperture more thoroughly in the future, so don’t worry if this seems confusing.
It’s hard to know which thing to set first. Typically I set the ISO first, but I know people that do it the other way around too. When you get to understanding ISO better, you’ll know what you need to set it at, just by seeing the amount of light you have.
Typically when using a tripod, and shooting my breakfast, I first set the ISO to 200. There is a decent amount of light coming through the window in the AM, and I know that I can get a nice depth of field [around f-8], while having my shutter set around 1/5 – 1/20. Now you could also do this the other way around. If you know you need your aperture [f-stop] at a certain number, say 11, to get the desired depth of field [portion in the photo that’s in focus], you can set this first. Then you would adjust your shutter speed + ISO until your photo is properly exposed.
In manual mode, you can use your light meter to gauge the exposure. It will look something like this.
[source]

You are aiming to have the bar in the center. You can achieve this by the two variations I have just talked about. Changing ISO, aperture, and your shutter speed ALL affect your exposure. Confusing no? Don’t always rely on “the middle” though. Your camera may shoot a little on the over or under exposed side. When you learn your camera better, you’ll figure out where the bar needs to be for the best quality photo. I typically like my photos when they’re in the very middle or 1 notch up.
Also, using a tripod helps tremendously!! In brief – You are able to set your shutter speed much lower than you would be able to set it if you were hand holding. This allows for much more light to be let into the camera, which allows you to not have to use as high of an ISO, which will result in a crisper looking image. And everyone loves a crisp image! :)
Does that make any sense at all? Once you start playing around, you will see what I mean, hopefully! Here are some photos that will help explain just exactly what happens as you adjust the ISO on your camera.
For this first set of photos, I used a constant aperture setting [f-stop] and shutter speed. The only thing I varied was the ISO. I’ll show you the RAW camera setting numbers to better explain. The first set basically just explains the fact that ISO is your camera’s sensitivity to light and the higher you set your ISO, the more light sensitive your camera becomes.
ISO 100 : F/5.6 : SHUTTER SPEED 1/30
ISO 200 : F/5.6 : SHUTTER SPEED 1/30
ISO 400 : F/5.6 : SHUTTER SPEED 1/30
ISO 800 : F/5.6 : SHUTTER SPEED 1/30
ISO 1600 : F/5.6 : SHUTTER SPEED 1/30
For the next set of photos, as I increased the ISO, I also changed the aperture [f-stop] and shutter speed to get a properly exposed photo. This was unlike the set above where the only setting I varied was ISO.
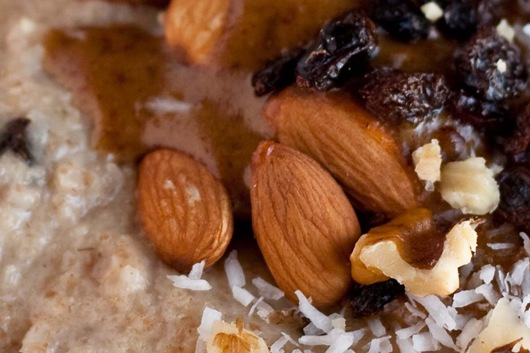
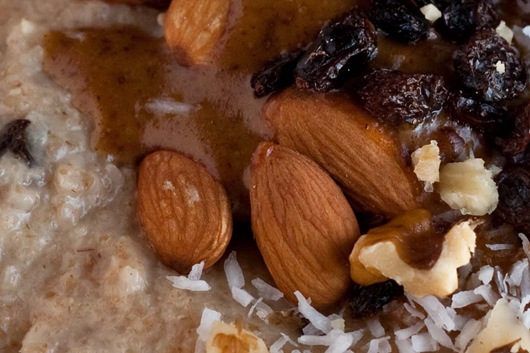
As the ISO goes up, notice the degradation in the quality of the image. I’m showing you 2 photos at each different ISO. They are the same photo, however, the 2nd photo is zoomed in on where I had the focal point set to.
ISO 100 : F/3.2 : SHUTTER SPEED 1/50
You may notice a little fuzziness behind the almond + walnut that are front and center. This is due to the narrower depth of field I used to properly expose this photo.
ISO 100 : F/3.2 : SHUTTER SPEED 1/50
ISO 200 : F/4.5 : SHUTTER SPEED 1/50
ISO 200 : F/4.5 : SHUTTER SPEED 1/50
ISO 400 : F/6.3 : SHUTTER SPEED 1/50
ISO 400 : F/6.3 : SHUTTER SPEED 1/50 *If you compare this with the zoomed in ISO 100 photo you can definitely start to tell a difference in the sharpness.
ISO 800 : F/6.3 : SHUTTER SPEED 1/100
ISO 800 : F/6.3 : SHUTTER SPEED 1/100 *Much noisier at ISO 800.
ISO 1600 : F/9.0 : SHUTTER SPEED 1/100 *You can start to see the difference in image quality with this photo compared to the zoomed out ISO 100. Because the light was decent when I took these photos, it’s harder to notice the noise with this zoomed out view.
ISO 1600 : F/9.0 : SHUTTER SPEED 1/100 *You can definitely see the noise when zoomed in.
As the ISO is increased, I am able to widen the depth of field more [higher f-stop number, more in focus]. However, it is easy to see the degradation in the quality/sharpness of the photo as the ISO number gets larger.
Does this clear up ISO at least a little bit? My suggestion is to read this post + then read it again. Google is great for finding answers to questions as well. Playing with your camera, then looking at the photos and RAW data will teach you a LOT. Time to get busy!!
Ashley

