
see the difference
/Clearly, I didn’t get a 2nd post up on Friday during the day. Things were a bit..uh…crazy to say the least. But crazy in a good way!! More info soon! :)
So here are some comparisons on the difference in photo detail when using a tripod. Also, the light bounce as really helped as well. Now I can keep my ISO at a lower setting [higher quality, less noise] because more light is being bounced on the food. Also the shutter speed can be set slower, [because it’s stabilized] which allows more light to come into the camera.
Here are some of the shots from yesterday, zoomed in and showing the original.
")
")
")
Ahhh look at those lines!! They look like wrinkles. :)
")
Here are a few from the PB + Apple samich.
")
Helloooo grainy bread!
")
-2")
-2")
Now check out the zoomed IN view of some older non-tripod photos. Unfortunately, I couldn’t find any with almonds to do a true comparison, but you can still see it.
-3")
The larger version looked pretty clear, but taking a closer look, it’s fairly noisy. Especially when you compare the detail in the coconut from the sandwich photo above.
-3")
Standard bowl of oats.
-4")
Zoomed in, the focus quality is sub-par.
-4")
-5")
-5")
So there you have the difference in detail from using a tripod. I used it again for all of my shots today. I’m actually enjoying it! It’s making me think about my shots longer before taking them, since I have to move around the tripod almost every single time.
Tripods are fairly expensive. A simple tripod is useful, but you really want one that you can adjust every little part of. ie: changing height of legs, being able to rotate the head, angle the head, and move the head up and down.
When looking for a tripod here are some things you want it to have:
- adjustable legs that lock at any height
- ability to shoot on uneven surface
- heavy duty, high quality parts
- Depending on what your uses are, weight might be really important to you. For example if you hike with the tripod, you will want it to be fairly light. – However, be sure that if you get a light tripod it’s not just cheaply made.
- pan tilt or ball head
- ball head gives the most flexibility for moving the camera around while attached to the tripod
- we have a 3-way pan tilt head
Basically the more your tripod can move around the more options you’ll have when shooting.
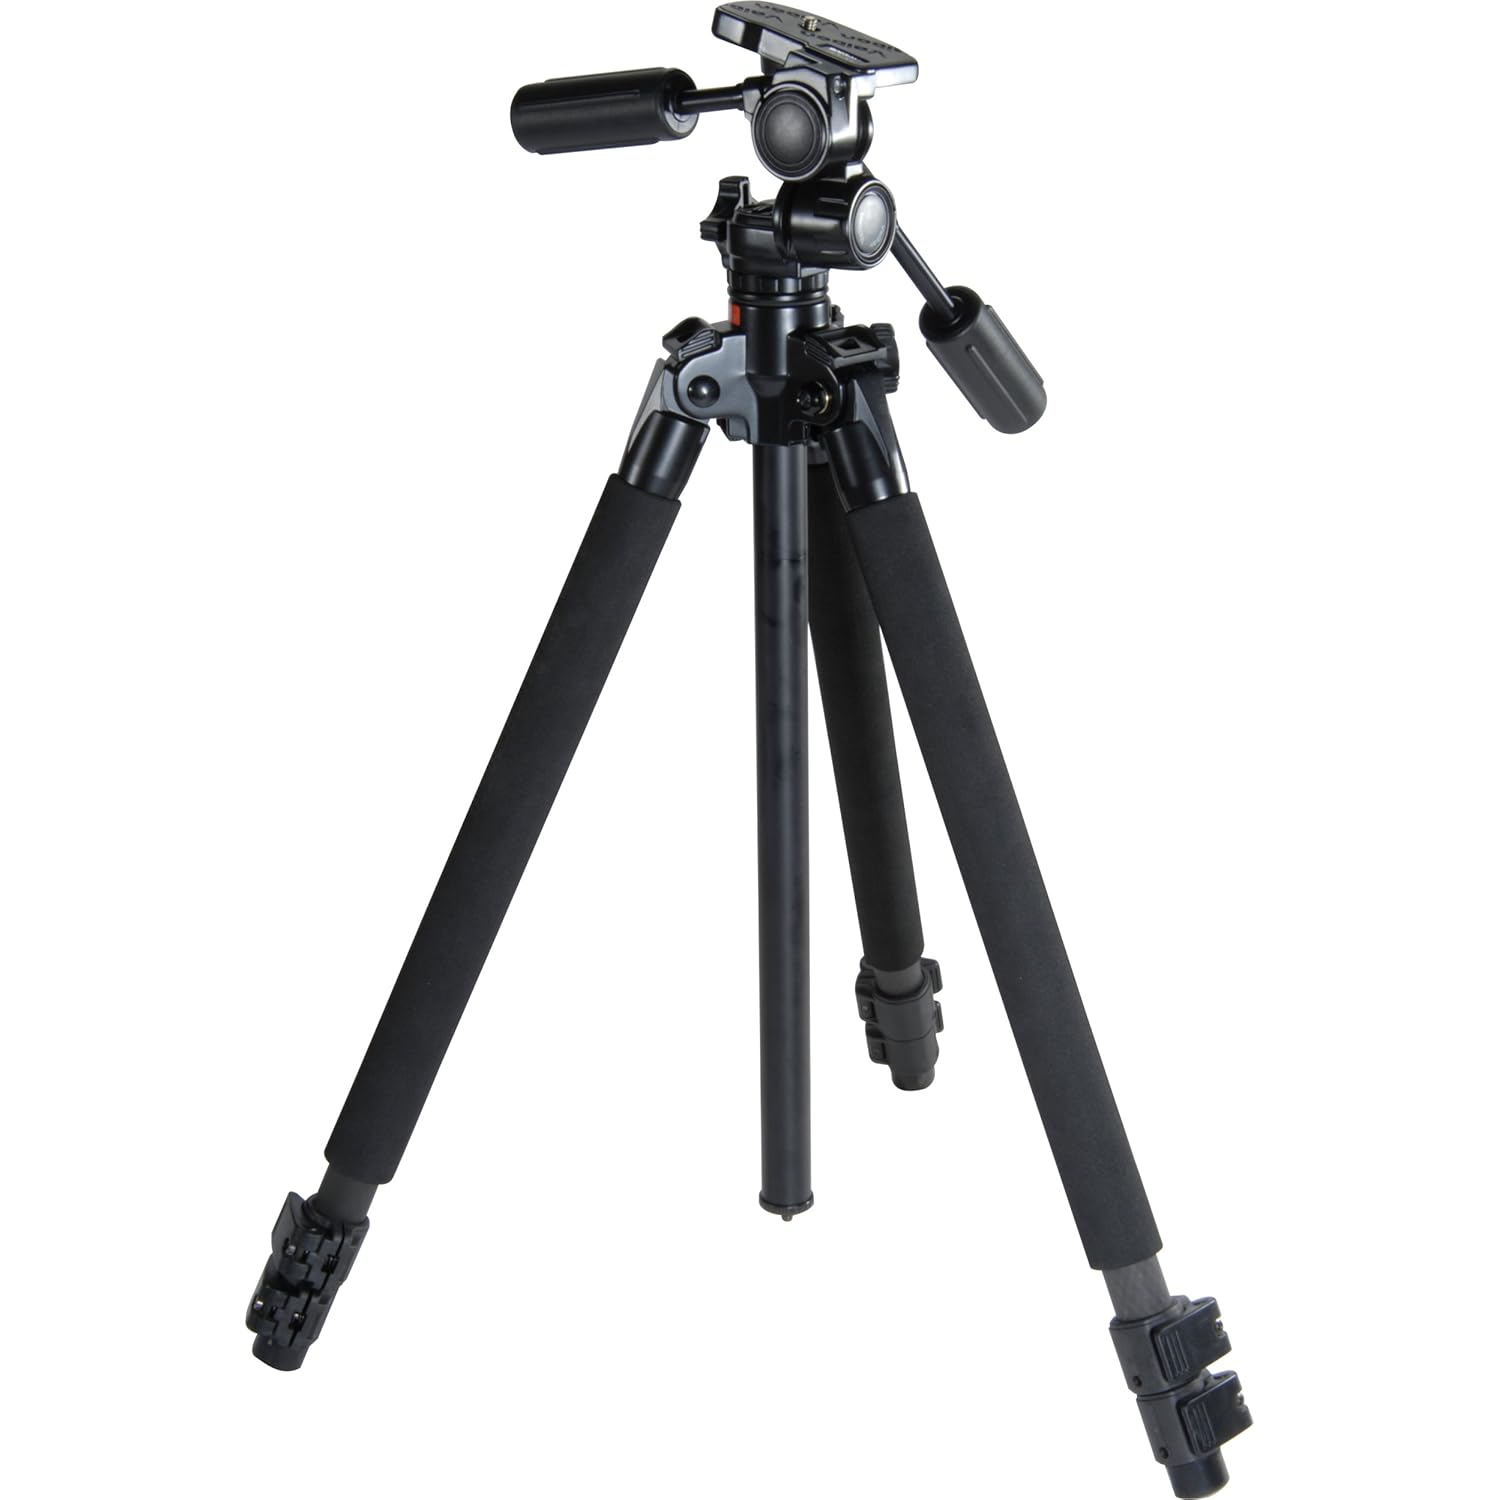
Here is the tripod we have. They are not cheap!!!
[source] This is $350 on Amazon. Chris got a really good deal a few years ago on it for $200.
Another buying option is to look for tripod legs [for instance these] and then buying a pan tilt or ball head to go with it.
From what I’ve read, people say to save up and get a quality tripod from the start because you’ll regret your decision if not. If you’re not ready to take the plunge of spending around $300 for a tripod, check out an option like this Gorillapod.
[source]

This is a great option because the cost is low, and once you have enough money for a real deal tripod, you’ll still be able to use this one when traveling, hiking, etc. Just remember since you obviously can’t extend the legs, you’ll always need a stable surface at varying heights for each particular photo shoot.


