10 things worth noting >> behind the scenes photography
/This post has been a long time coming. I’ve been asked a handful of times to show a behind the scenes look at my photography process but have yet to follow through. Don’t ask what took me so long because I really don’t know.
How about we get started?
1. It all starts in the kitchen where I make messes on the daily. Cleaning as I go just doesn’t work because 5 minutes later I have another spill or flour explosion.
For more kitchen mess fun visit here, here, and here.

2. Mini bowls. Most of this cabinet is filled with our everyday dinnerware but in the back corner I stash a bunch of small bowls + glasses I use frequently. Mini-sized bowls look great when you need a shot where the bowl is completely full. Sometimes a half-full bowl just doesn’t photograph well, depending on what you’re trying to achieve.

3. Random stacks of plates + bowls and also Chris’s least favorite cabinet to deal with when unloading the dishwasher. I only use a handful out of this stack that I’ve come to really love. I’m very into whites + neutrals if you haven’t noticed.

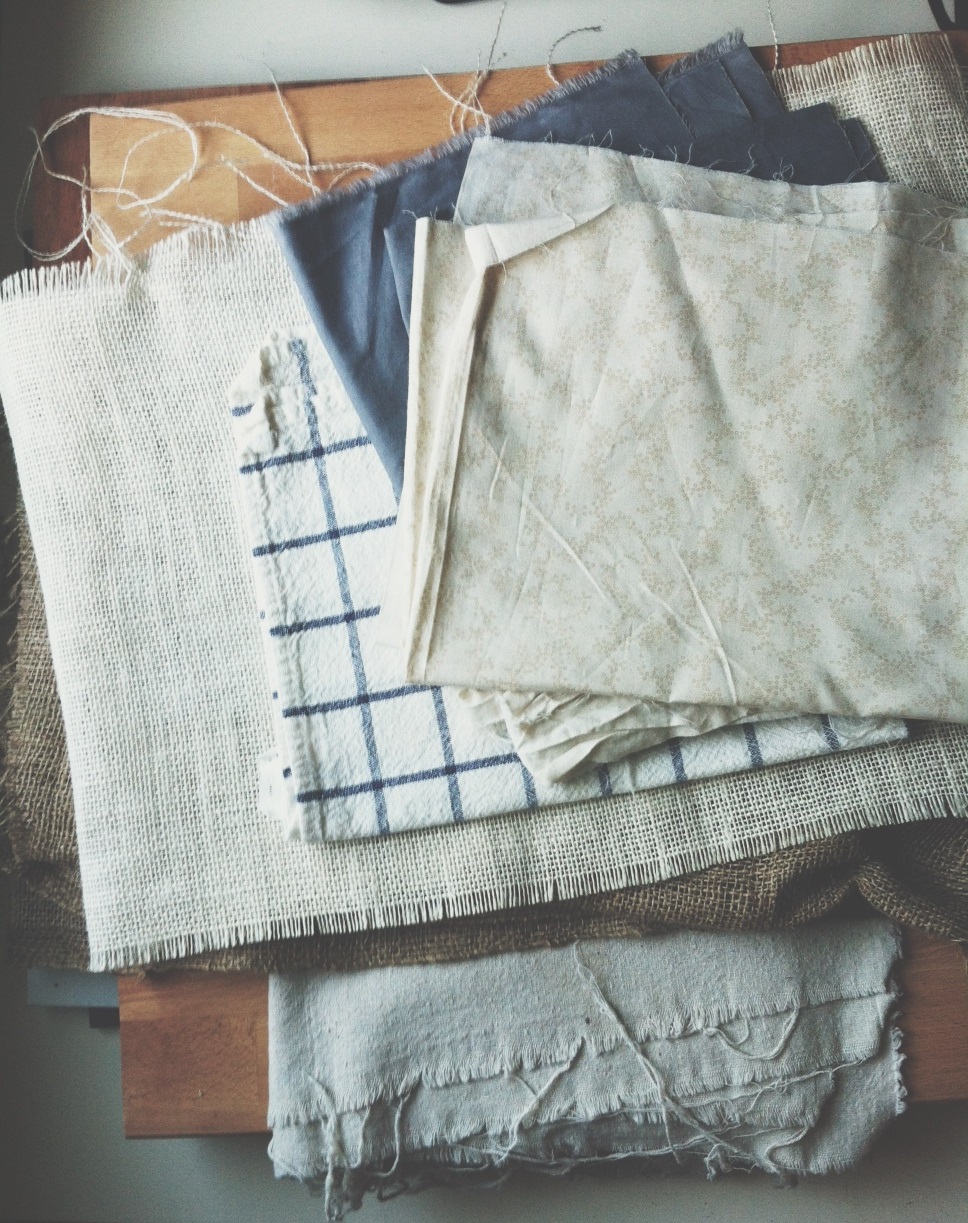
4. Cloth! I buy random pieces of cloth from JoAnn Fabrics. Sometimes I branch out and buy something with a bit more color, but I always seem to fall back to the neutrals + earth-tones. Instead of using cloth folded super neatly and then perfectly positioned under a plate, I typically use these as a surface background. Sometimes I like to bunch them up around the food to create a soft shadow look.
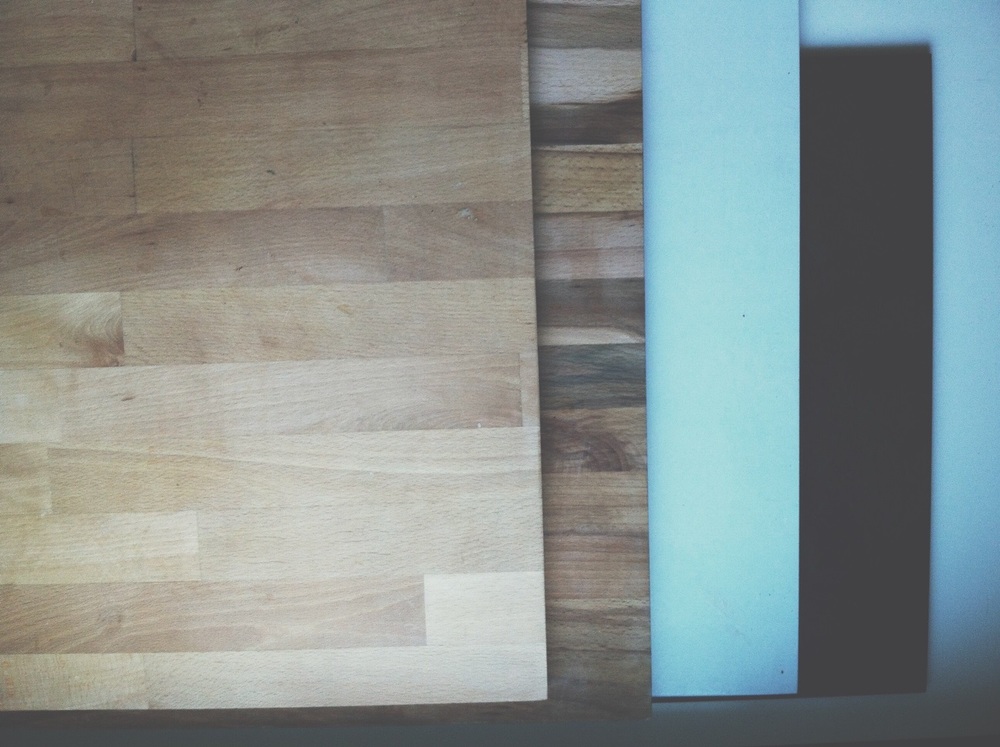
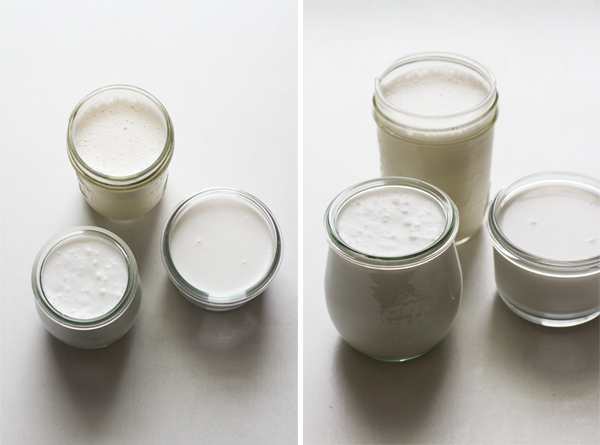
5. Surfaces. I either shoot on a hard surface like you see below or on a surface covered with fabric from the above photo. I keep things simple and switch between just a handful of different options. I have 2 large cutting boards from Ikea [$9.99!], a few tiles from a flooring store [I only use the white one], weathered wood from a friend’s old fence, and the actual white table I set up my shoots on [19.99 from Ikea].
photo examples using these surfaces:
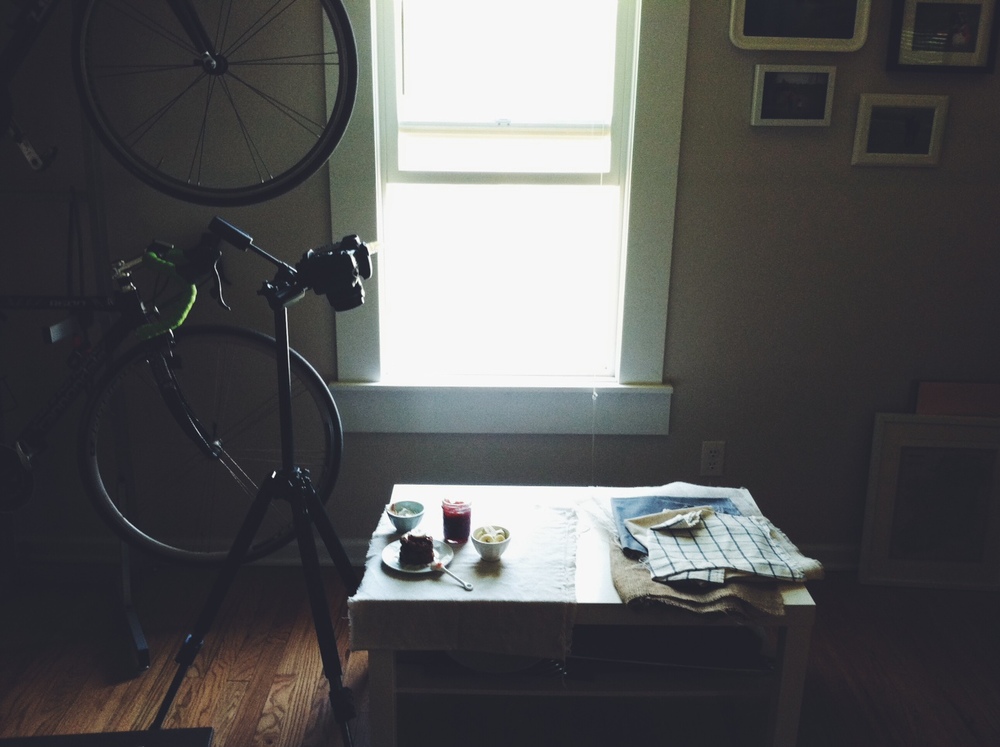
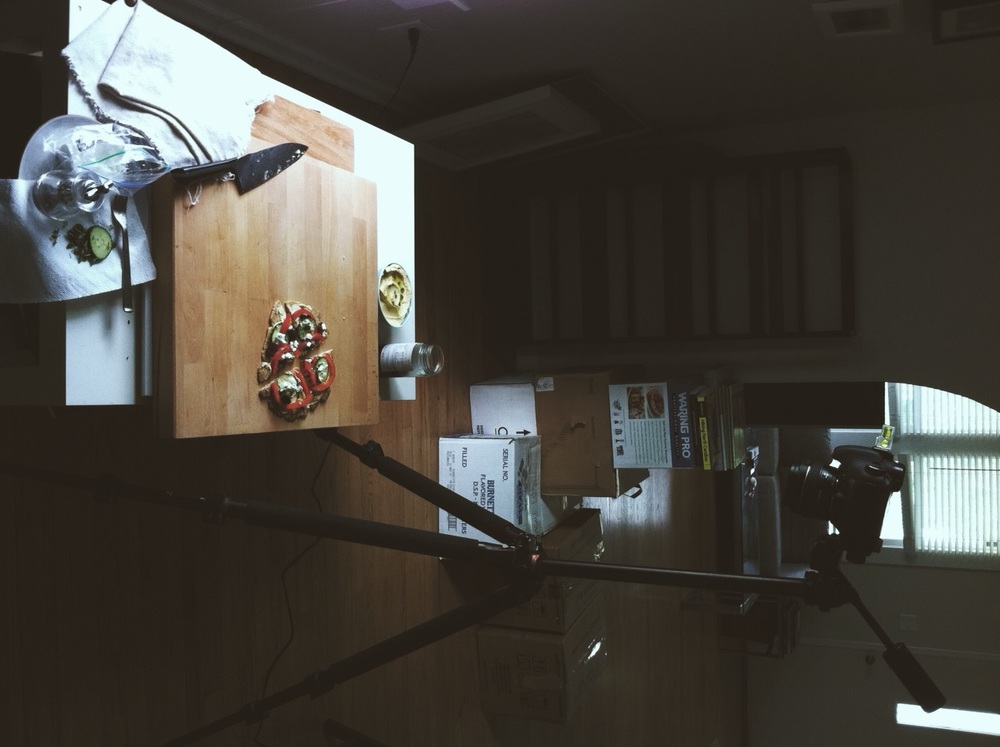
6. Side-light shooting. This is the window I work with everyday. It looks like an incredible amount of light pouring through but if you look at the actual table you can tell it’s not as crazy bright as it seems. This window never gets direct sun and faces north. I’ve come to love the light from this window but it took some getting used to.
Sometimes I use a white piece of foam board to bounce light on the non-window side of the table to soften the shadows. However, in the past year I’ve come to prefer no bounce.
I also will sometimes set up a solid-colored painted board [ex: here + here] behind the food when shooting head-on.
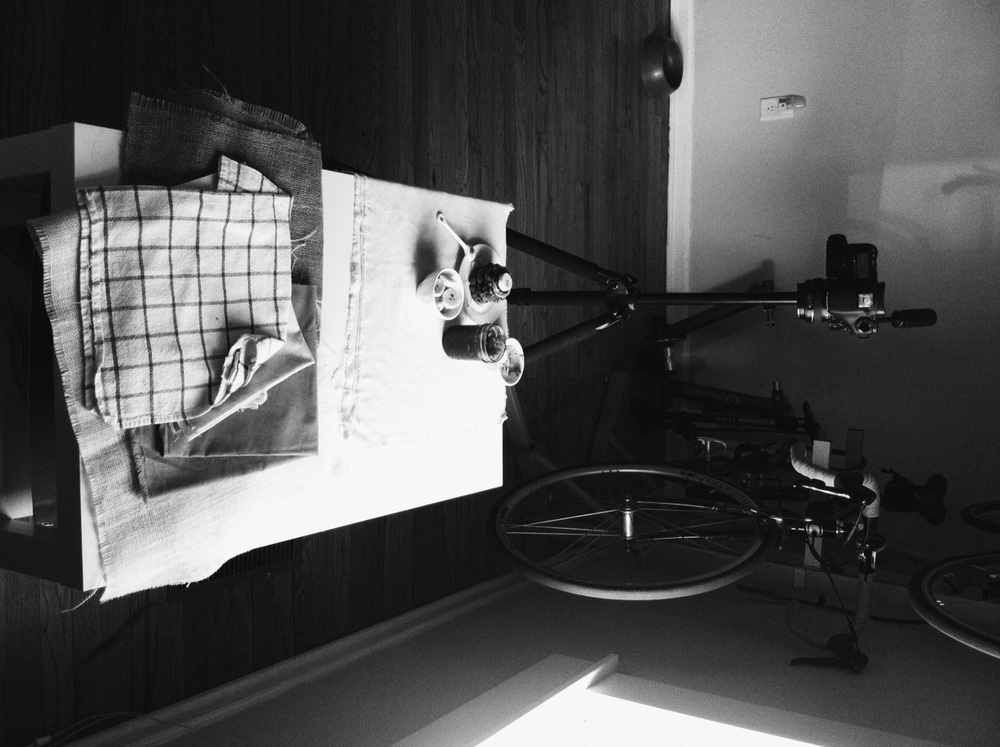
7. Back-light. window –> food –> camera
Ohhh, how I love back-lit photos. Backlit photos end up giving a more dramatic-shadowy feel to the photo.

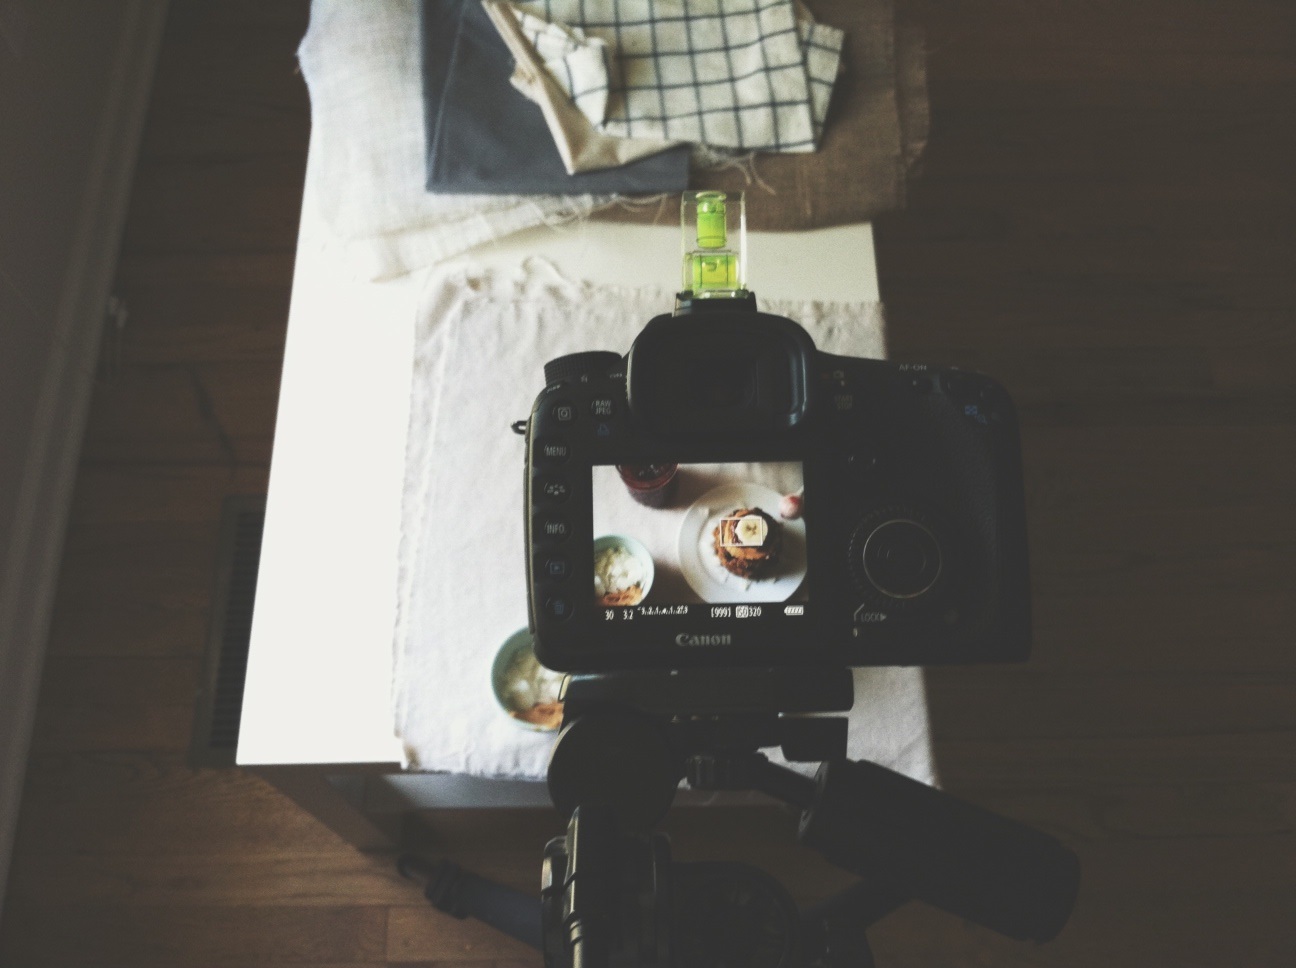
8. Live View. I shoot with a Canon 7d and use the Live View Mode for every single photo. I find this much more helpful in comparison to using the viewfinder. It allows me to have a better feel for what the actual photo will look like. I don’t shoot tethered but hope to in the near future!
I also zoom in while in live mode and manually focus every single shot as I feel the sharpness turns out much more precise with the 50mm 1.4 lens I use.
The little green thing attached to the top of my camera is actually a level so I know if my photo is…well…level! I never take this off my camera when it’s on the tripod.
9. Tripod. All the time. When I first started photographing I couldn’t understand the benefit of a tripod and now I find it hard not to use when shooting food. It’s helpful for so many reasons. ie: less chance of dropping, less camera shake from hand-holding, allows more light into the camera at a lower shutter speed, helpful in low light situations, great for pour shots, and so much more.
10. For photo editing I use Adobe Lightroom. I shoot in RAW, upload the photos, sort through and star my favorites, edit those, then export as jpegs. The editing tools I almost always use are crop, clarity, saturation, exposure, color temperature, and tone curve. Each photo takes me just just a few minutes to edit and then I’m on my way to posting.
So there you have it! Hopefully you enjoyed this intro to some of the behind the scenes action that goes on every day around these parts. Interested in hearing more about one topic in particular? Let me know!
Ashley
psst! There is a new post live on the photography blog! I just finished up the senior photo session from when my sis-in-law was in town a few weeks ago, so be sure to check it out. Also, don’t forget about the summer photo special I’m currently running!